Courses > Environment Art
Creating Destroyed Assets for Games
By Emiel Sleegers
![]()
![]()
![]()
![]()
![]()
Based on 11 ratings
COURSE SUMMARY
Learn how a professional environment artist works when creating destroyed assets for games. You’ll learn techniques like correct asset planning, creating modular assets, creating destroyed concrete and pillars, creating destroyed wood/flooring, creating rubble piles, simulating debris, and more!
Course Details
 27 Hours of video Content
 English
![]() Advance
Advance
![]() Source Files Included
Source Files Included
![]() English, Chinese, Spanish
English, Chinese, Spanish
USD $35.99 10% OFF $39.99
COURSE TRAILER
COURSE DESCRIPTION
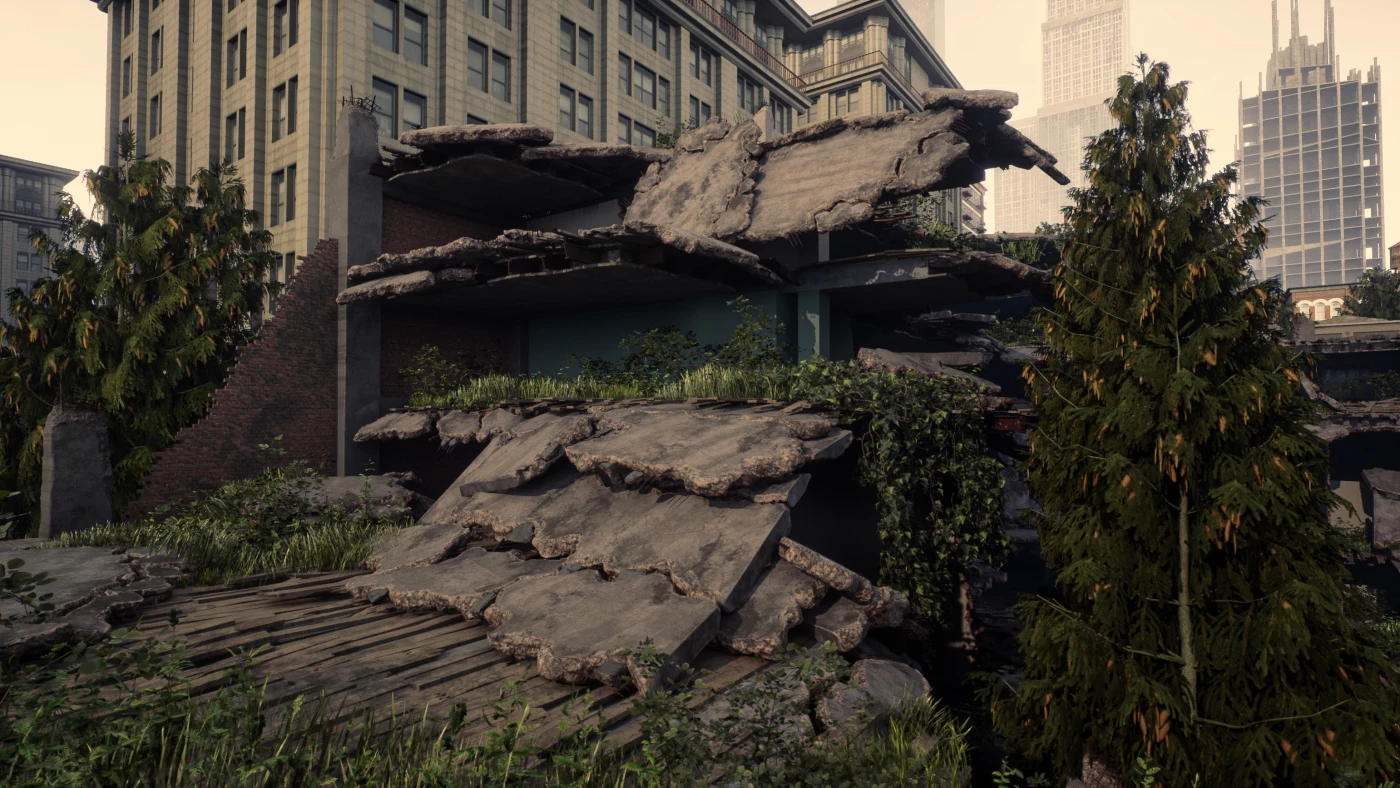
Environment Planning & blockouts.
Creating damaged assets is typically more complex than creating traditional ones. Due to this, we will undergo thorough planning and craft detailed blockout pieces to ensure a seamless fit when constructing our final models. This meticulous approach guarantees precision and coherence in the representation of destruction within the assets.
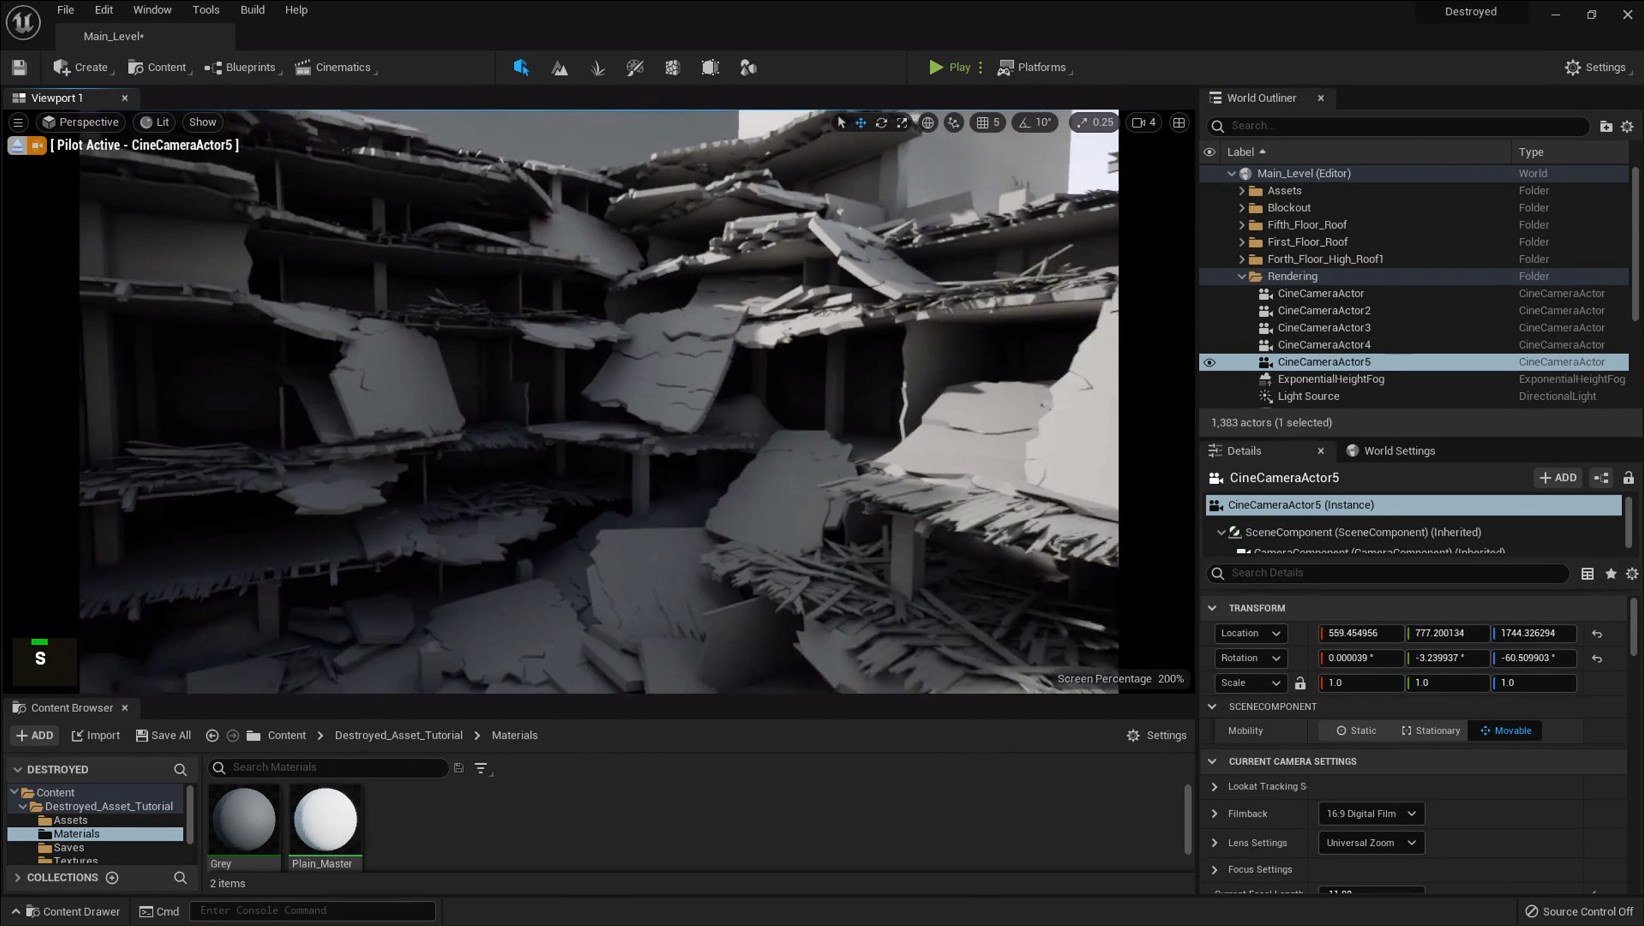
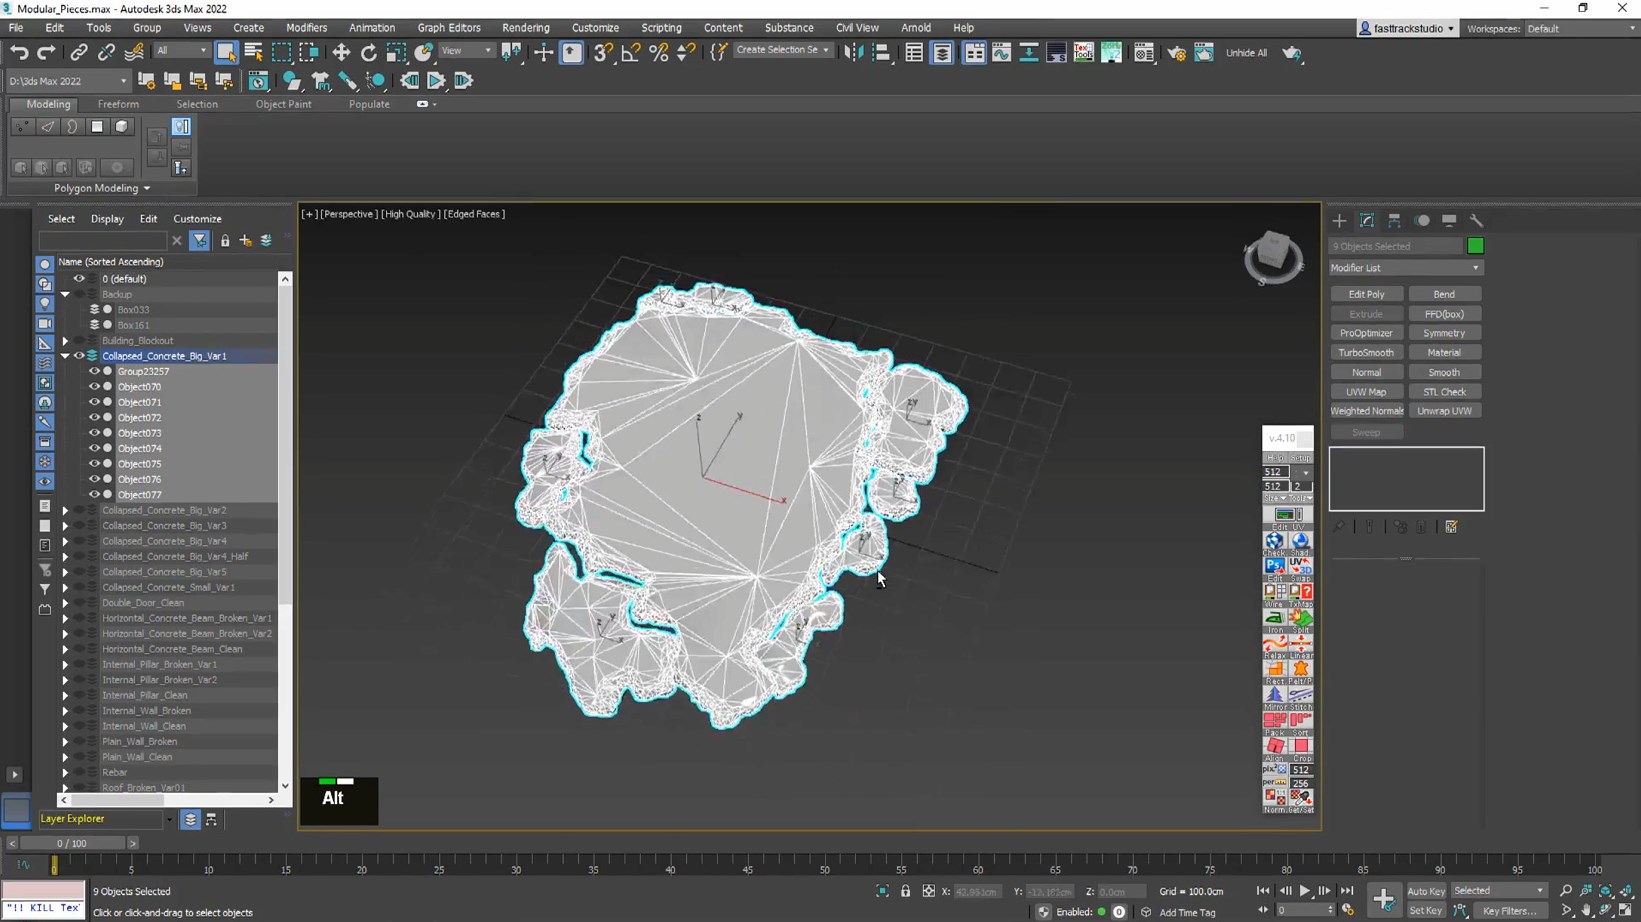
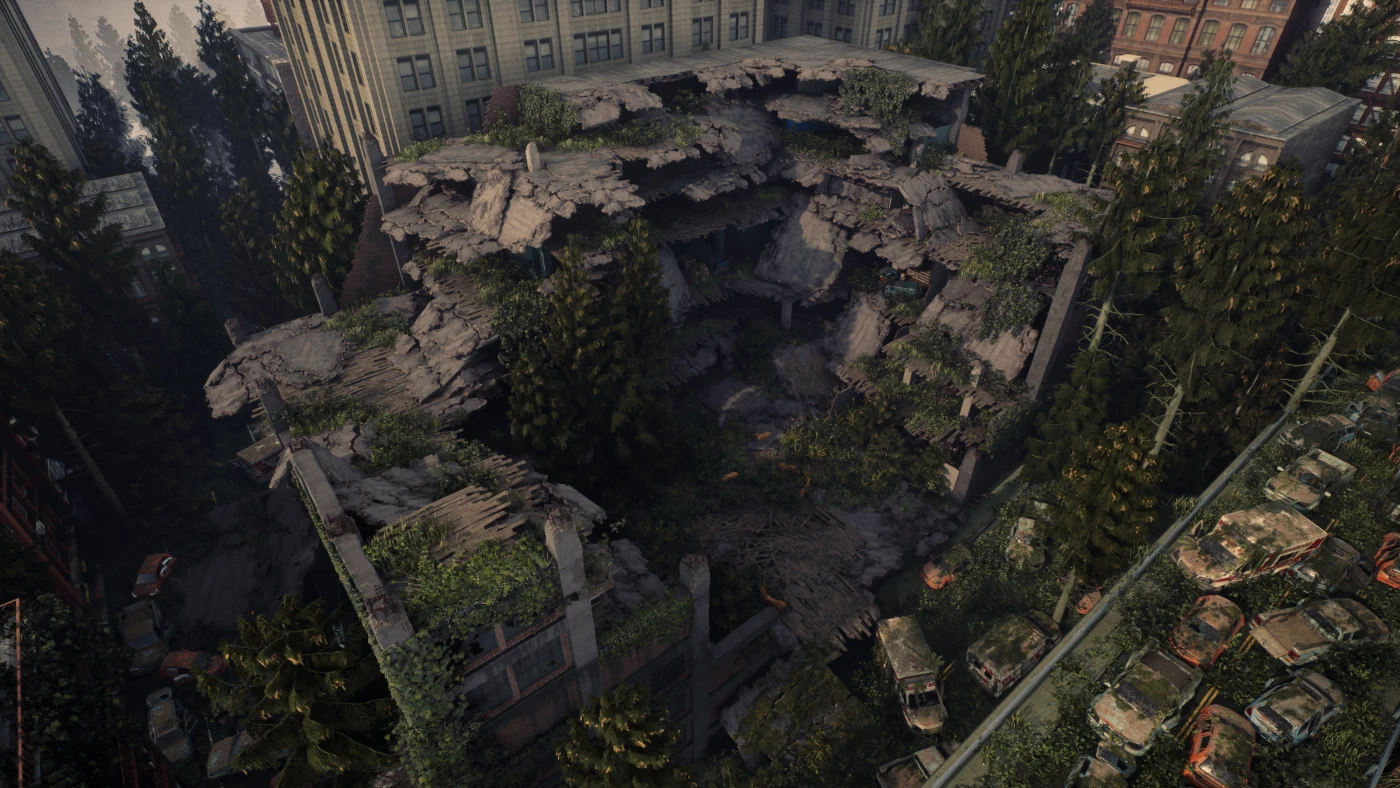
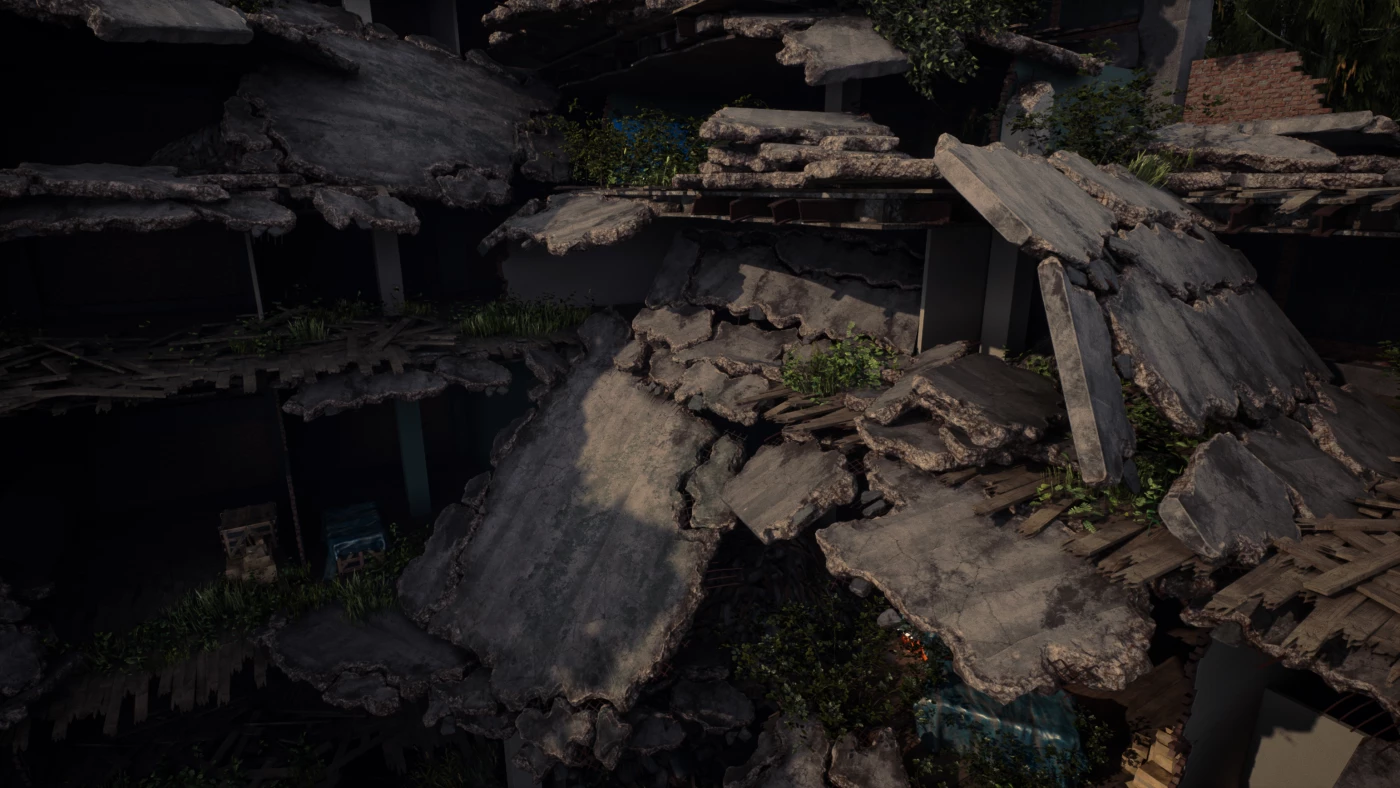
Concrete Destruction.
You'll learn to simulate various forms of concrete destruction, from collapsed floors and fractured pillars to heaps of rubble. We will guide you from start to finish on crafting realistic, detailed destroyed assets, offering insights into each stage of the creation process.
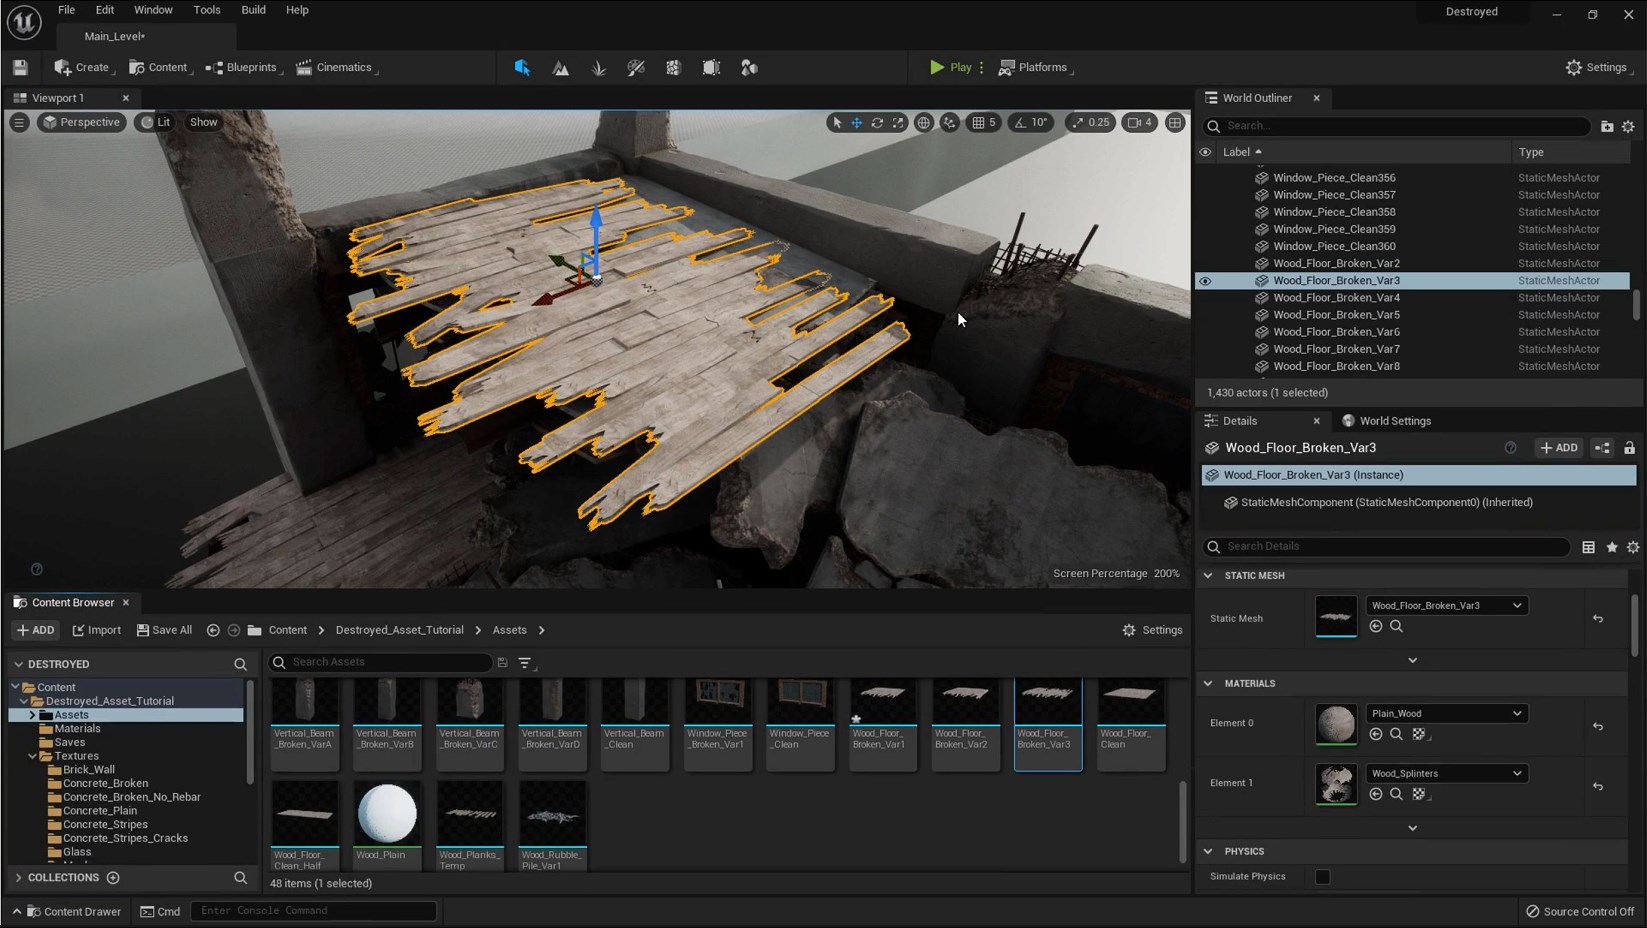
Wood Destruction.
Besides concrete, we will also demonstrate how to simulate wood destruction, from minor splinters to extensive broken floors. Additionally, we will show you how to use simulations to accurately depict piles of wooden debris, ensuring a realistic representation of damage across different materials.
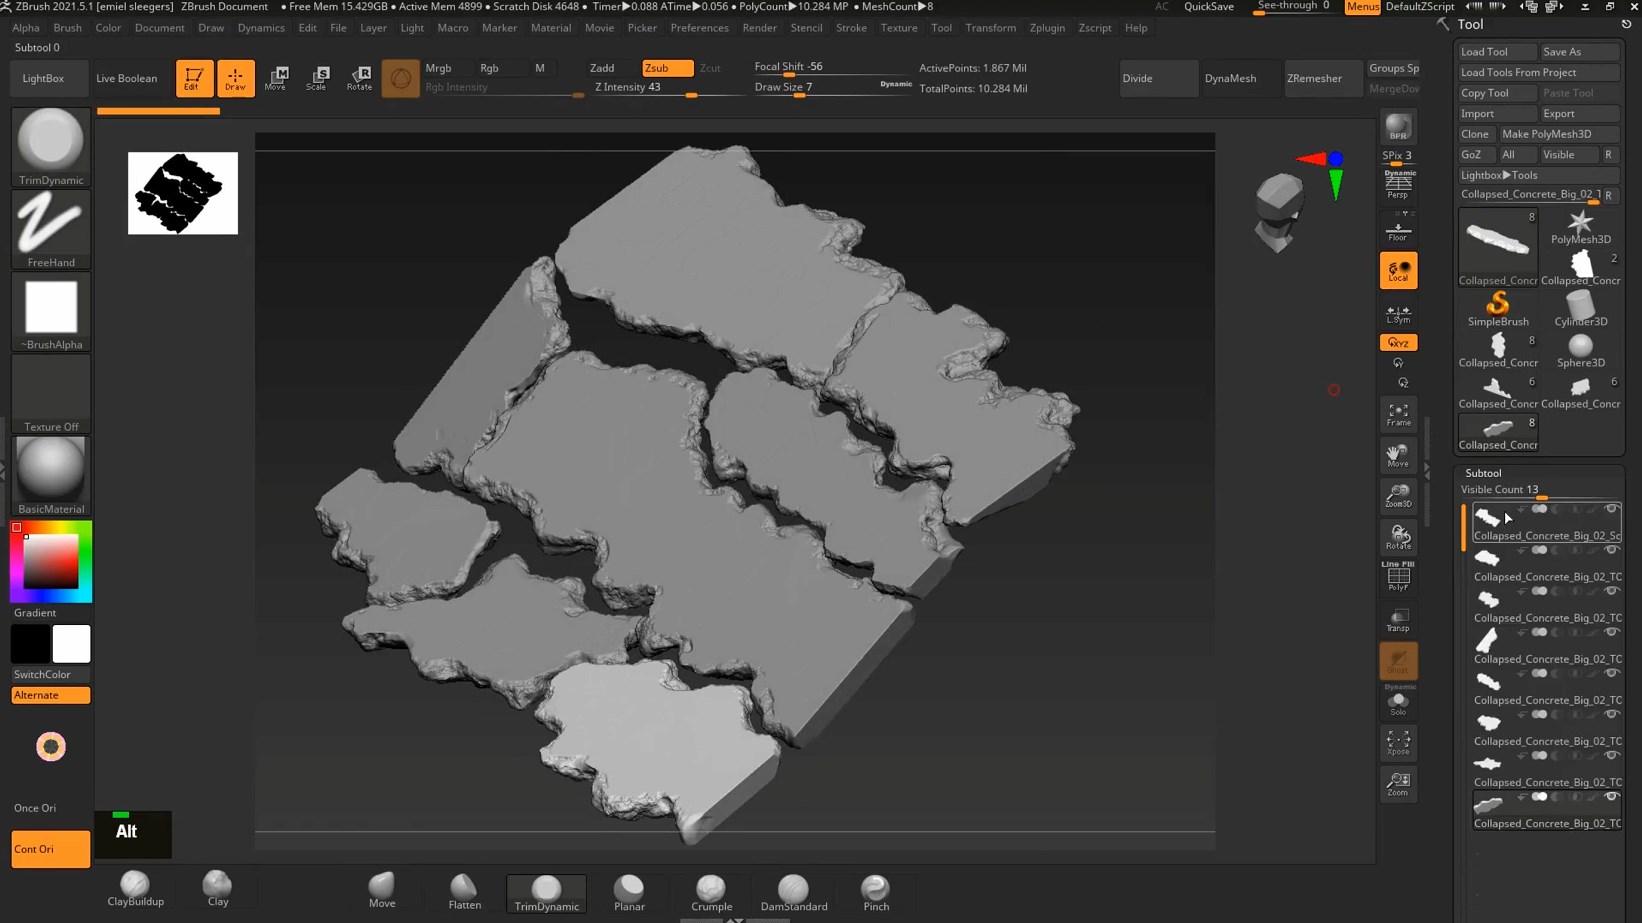
Sculpting.
To elevate the realism of our destruction, we will illustrate how to sculpt your damaged pieces in ZBrush, adding the extra detail necessary to enhance the final quality, ensuring each piece possesses intricate and authentic textures and contours.
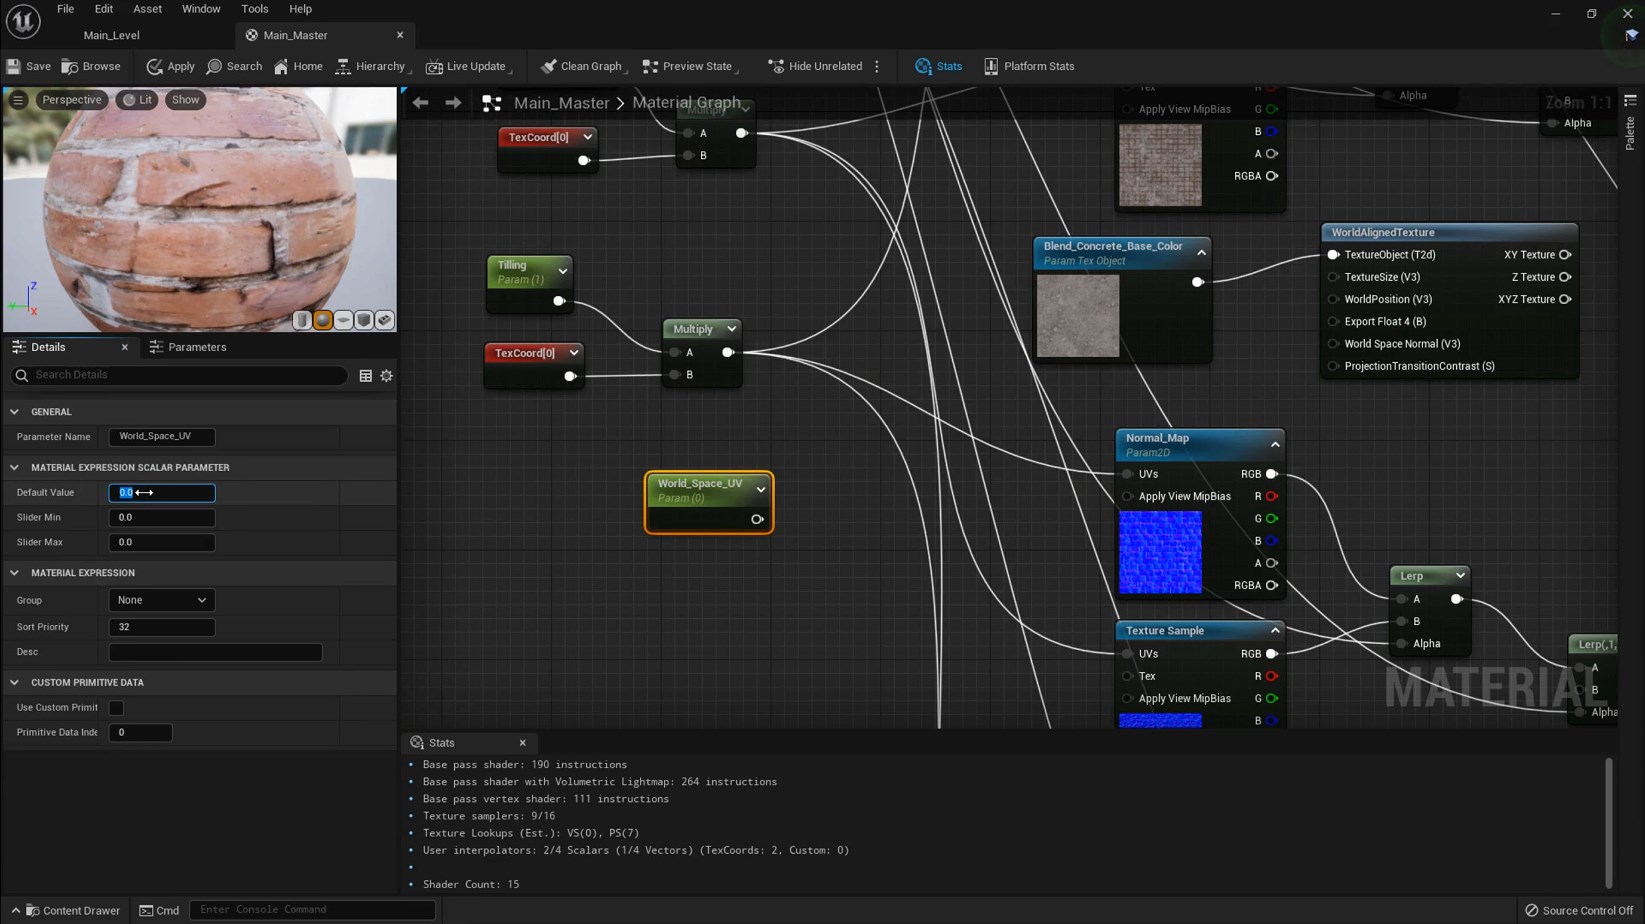
Advanced Shaders.
You'll learn to create an advanced shader in Unreal Engine that provides the ability to select textures on your models based on masks, incorporate dirt, manage overall material properties, and implement various other advanced controls, enabling you to achieve a high level of customization and visual fidelity in your projects.
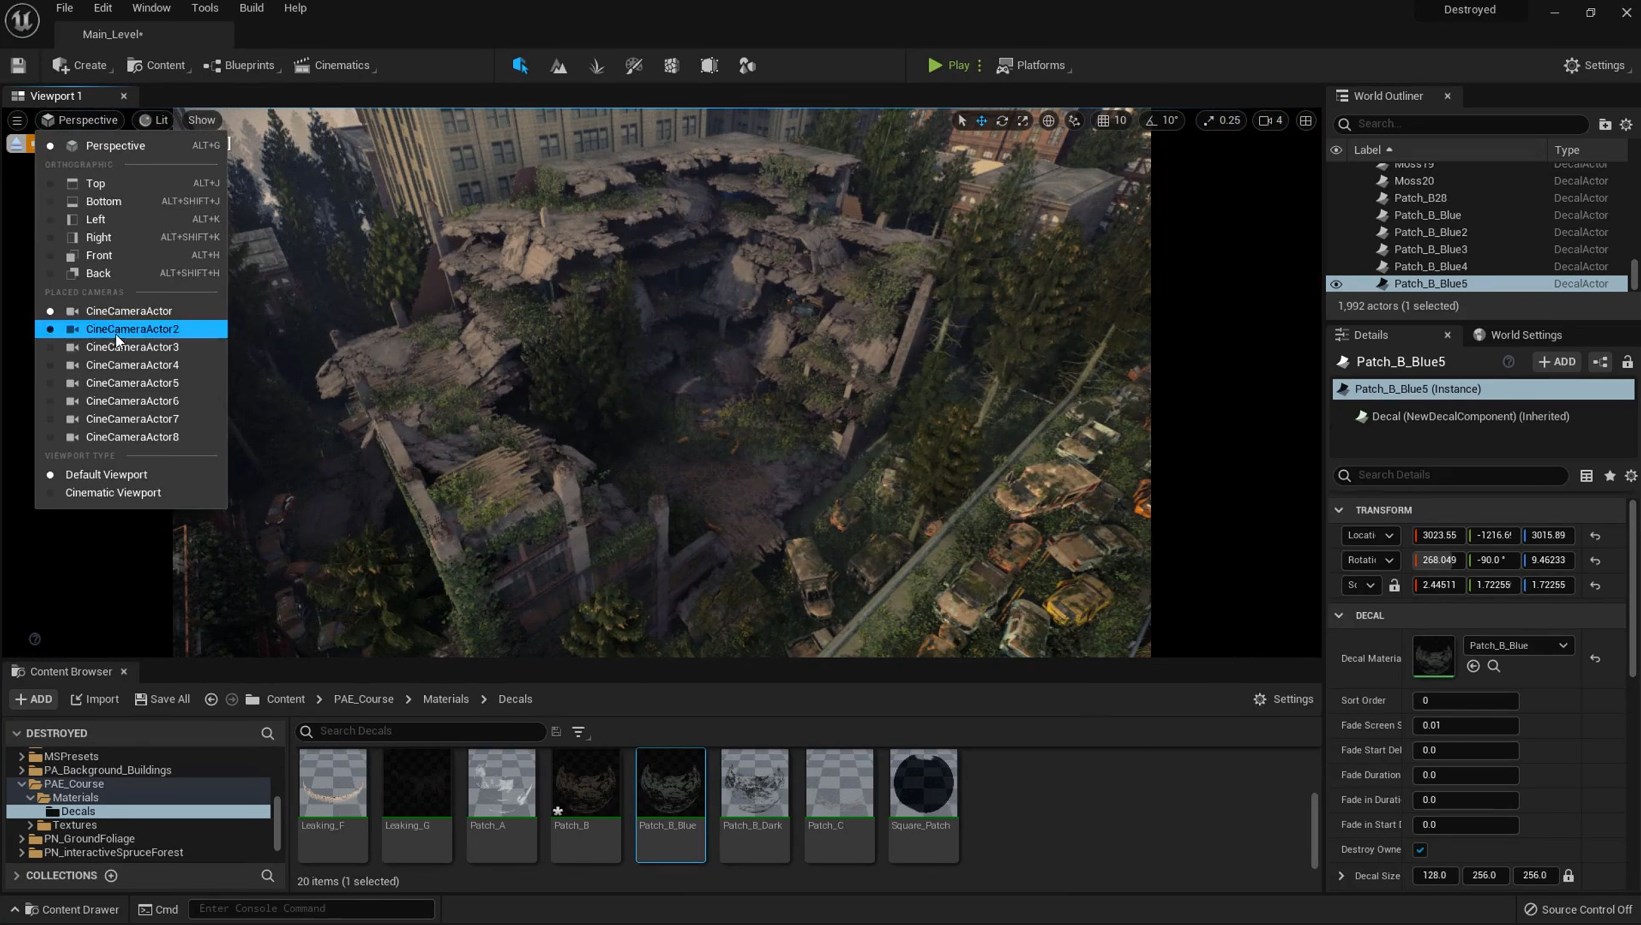
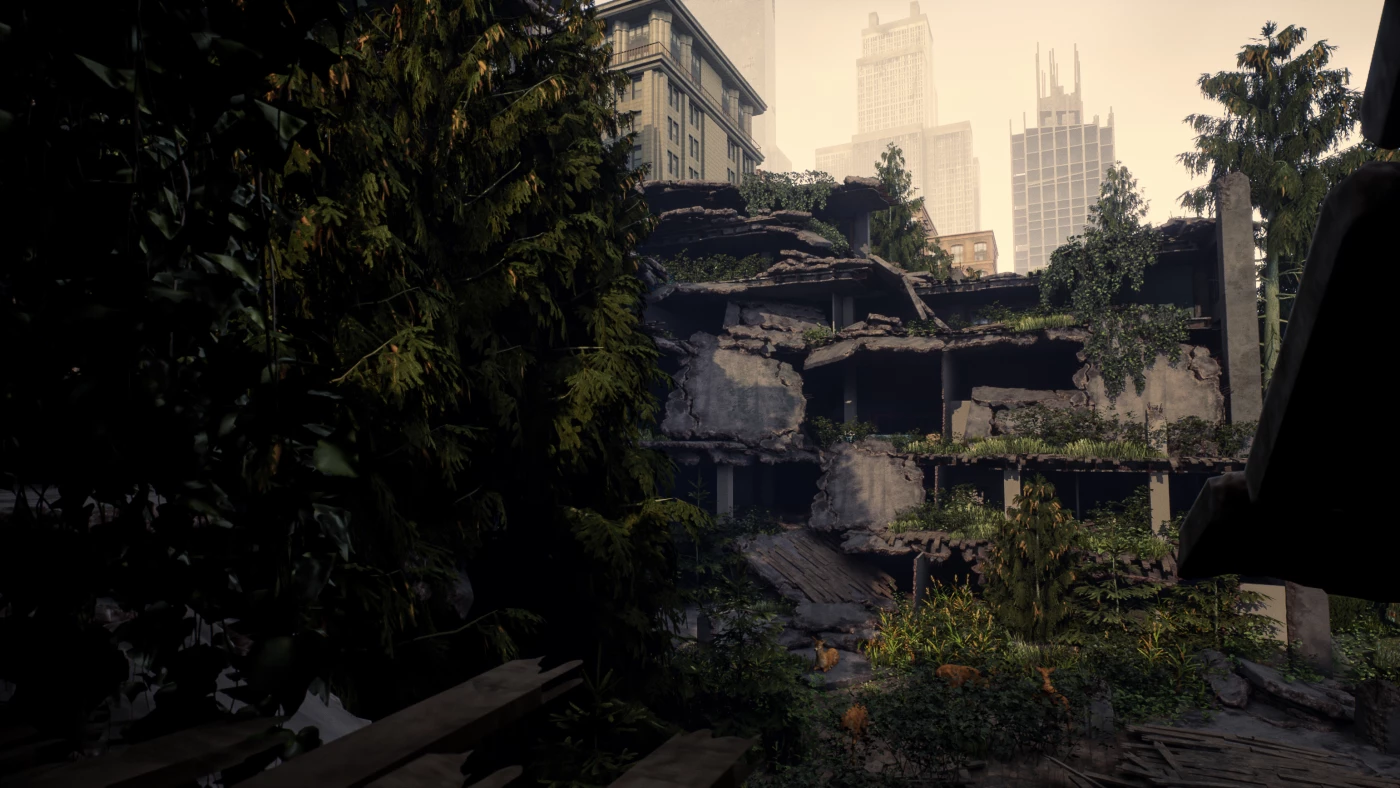
Level Art & Lighting.
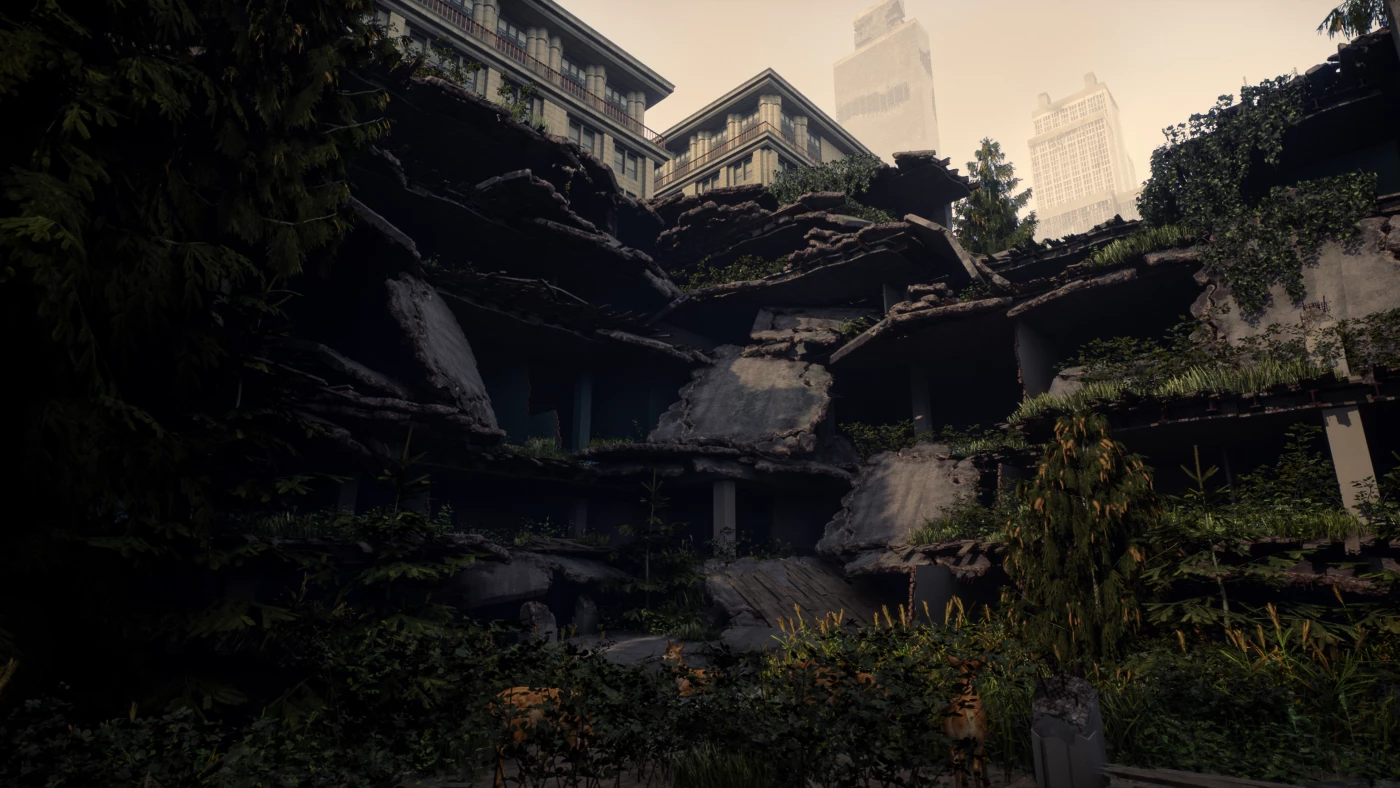
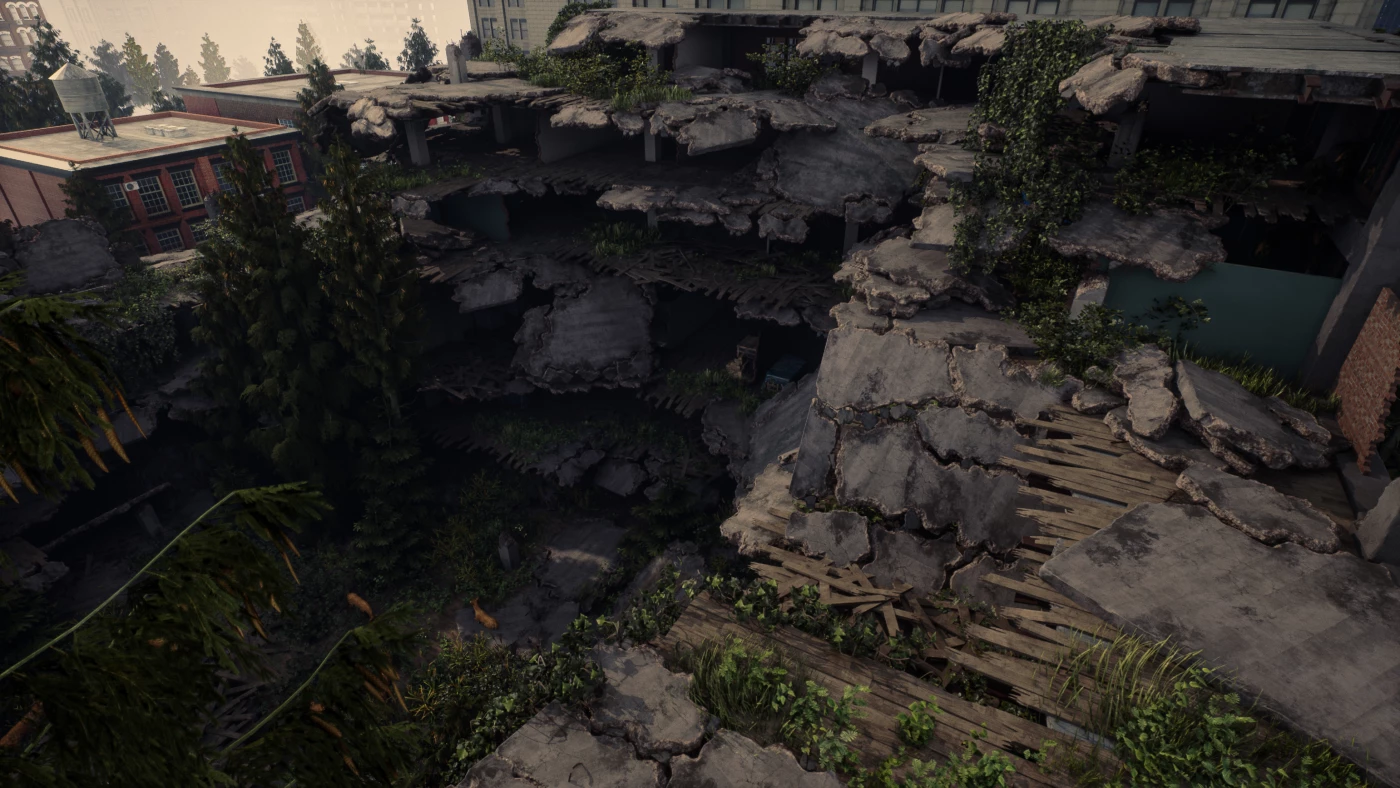
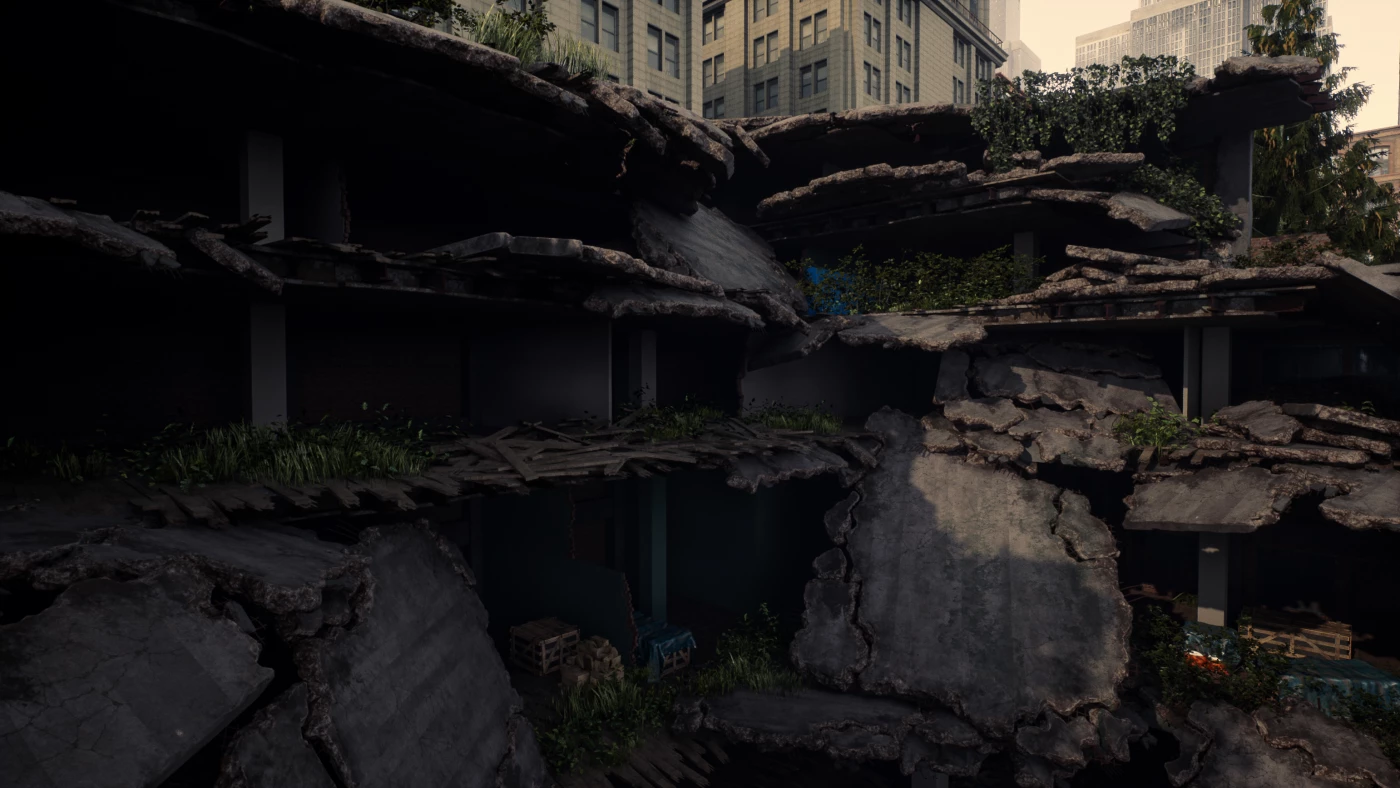
To conclude, we will demonstrate how to construct an entire collapsed building in Unreal Engine. We'll also integrate additional level art elements, handle lighting and post effects, and prepare the artwork for your portfolio, ensuring a comprehensive and professional presentation of your work.
Creating Destroyed Assets for Games
Learn how a professional environment artist works when creating destroyed assets for games. You’ll learn techniques like correct asset planning, creating modular assets, creating destroyed concrete and pillars, creating destroyed wood/flooring, creating rubble piles, simulating debris, and more!
3DS MAX, SUBSTANCE, ZBRUSH, AND UNREAL ENGINE 5
All the modeling will be done in 3DS Max, However, we have also included bonus chapters on how to do non-universal techniques in Maya and Blender. The of the techniques used are universal and can be replicated in any other 3d modeling package. Sculpting will be done in Zbrush and mask/material creation will be done in Substance Painter and a little bit of Substance Designer. The entire level will be set up in Unreal Engine 5 and we will also use a bit of photoshop and DaVinci resolve.
At the end of this course, you will have a deep understanding of how to create destruction for games. Please note although all textures are included we will not go over how to create them, this course is solely focused on creating the destroyed assets and doing some level art.
27+ HOURS!
This course contains over 27+ hours of content – You can follow along with every single step – The course does enclose a few small-time lapses, this is just to speed up very repetitive tasks, the rest is done in real-time. However, we have also included the time-lapsed footage in real-time without narration.
We will start by gathering our references and going over our planning. Then we will create a blockout for all our assets and already put our scene together to make sure everything works correctly.
After that, we will start to create all of our final assets. We have divided the tutorial up per destruction type. Meaning that we will first take the pillars to final, then the concrete rubble, then the wood, etc.
Once that is done we have also included some bonus material on how we create the additional level art surrounding our building like the additional buildings, trees, and extra assets (this will be done using a timelapse)
SKILL LEVEL
This game art tutorial is perfect for students who have familiarity with a 3d Modeling tool like 3DS Max, Substance Designer/Painter, and Unreal Engine – Everything in this tutorial will be explained in detail and we have also included bonus chapters on how to replicate some techniques in Maya and Blender. However, if you have never touched any modeling or texturing tools before we recommend that you first watch an introduction tutorial of those programs (you can find many of these for free on YouTube or paid on this very website)
TOOLS USED
- 3DS Max
- Substance 3D Designer and Substance 3D Painter
- Unreal Engine 5
- Zbrush
- Davinci Resolve
- Photoshop
- Marmoset Toolbag 4 (can be replaced with Substance Painter)
YOUR INSTRUCTOR
Emiel Sleegers is a senior environment artist currently working in the AAA Game Industry. He’s worked on games like The Division 2 + DLC at Ubisoft, Forza Horizon 3 at Playground Games, and as a Freelancer on multiple projects as an Environment Artist and Material Artist.
CHAPTER SORTING
There’s a total of 72 videos split into easy-to-digest chapters.
All the videos will have logical naming and are numbered to make it easy to find exactly the ones you want to follow.
SUBTITLES
Subtitles are offered for this tutorial in English, Spanish, Russian, and Chinese.
Please note the subtitles are auto-generated and might not always be 100% accurate.
JOIN OUR DISCORD!
https://discord.gg/Uhj6PCjdeX
HIGHLIGHTS
YOUR INSTRUCTOR

Emiel Sleegers is a Lead Environment Artist and the owner of FastTrackStudio, with over 8 years of experience in the AAA game industry. He is known for his expertise as an Environment and Material Artist, as well as his work as a tutor in the field of 3D game art. Emiel has worked for major companies such as Playground Games (Forza Horizon 3) and Ubisoft Entertainment (The Division + DLC). In addition to his work at FastTrackStudio, Emiel also creates learning content for FastTrackTutorials and provides services to clients such as Adobe, MSI, Artstation, Shutterstock, TeamLiquid, Vertex School, and others.
REVIEWS
We feel confident that you will love this course! But incase you do not believe us we will let the reviews speak for us
![]()
![]()
![]()
![]()
![]()
Based on 11 ratings
 Jack Mordho
Source | Artstation
Jack Mordho
Source | Artstation
Great tutorial. Emiel has quickly become my favorite teacher when it comes to environment art, maya, unreal, substance, and marmoset. My favorite thing about his approach to teaching is that he is really doing the work in real time, not just following a script. This means you will see him run in to roadblocks, challenges, bugs, etc. and you will see how an industry professional on a deadline solves problems. I cannot overstate how absolutely invaluable this is.
 Kevin Boggs
Source | Artstation
Kevin Boggs
Source | Artstation
World-class AAA tutorial with an excellent instructor!
 Pavel
Source | Artstation
Pavel
Source | Artstation
Excellent course. I recommend it to everyone. A lot of useful and necessary information.
 Anton Victorov
Source | Artstation
Anton Victorov
Source | Artstation
The course is very cool, but there are a few points that do not seem quite logical to me. Namely, why not just bake or texturize in DirectX?! Why do all this in OpenGL, and then do the flip Green channel in Unreal Engine 4?!
 StevenVon
Source | Artstation
StevenVon
Source | Artstation
nice tutorials, it`s very useful, cool~